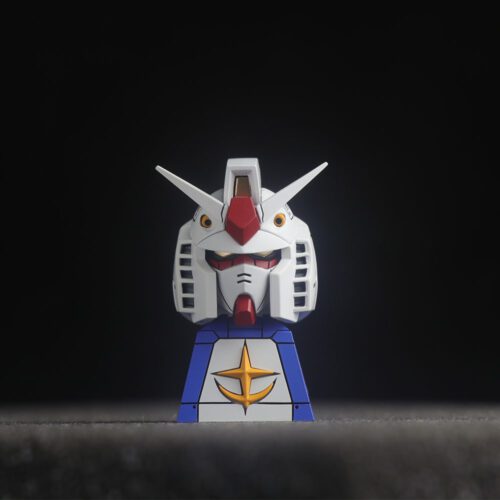
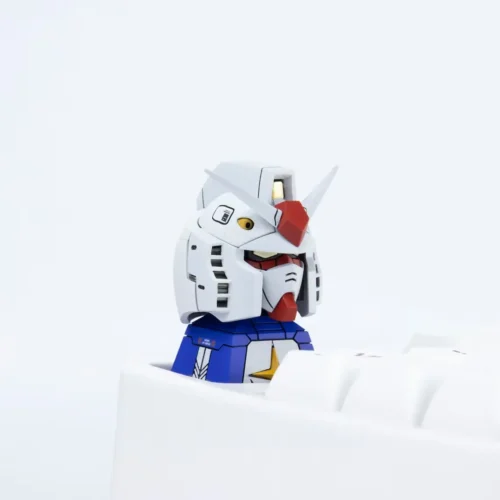
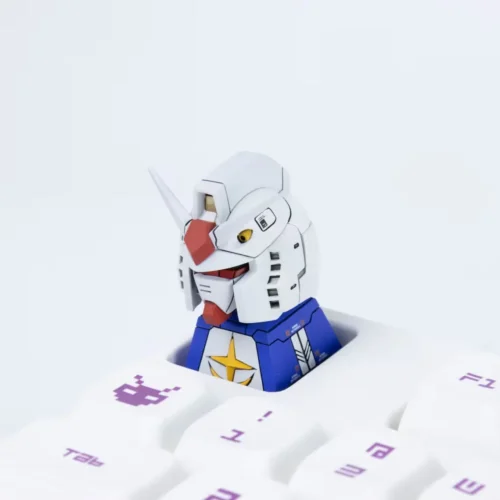
How to Make an Artisan Keycap: A Realistic Guide from Keycapor
Keycapor
Table of Contents
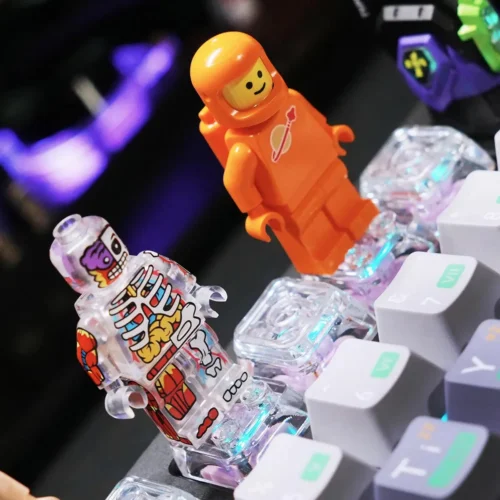
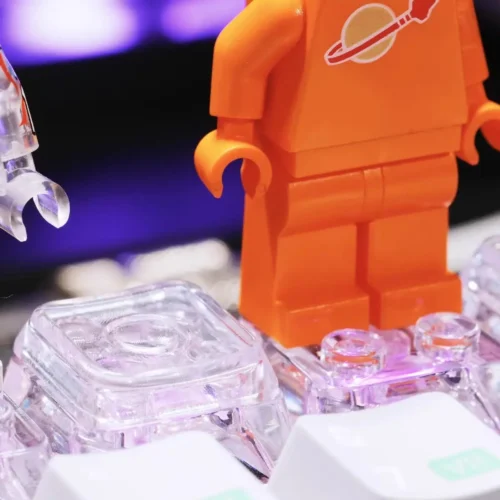
I get DMs all the time asking, “How exactly is an Artisan Keycap born?” So today, I’m not going to gatekeep. I’m going to break down our entire process using this Charizard Pokémon Keycap as an example.Whether you are a hobbyist looking to start or just curious about why these tiny caps cost what they do, this guide is for you.
Basically, the workflow is: 3D modeling -> resin printing -> hand-painting -> casting -> Polishing.
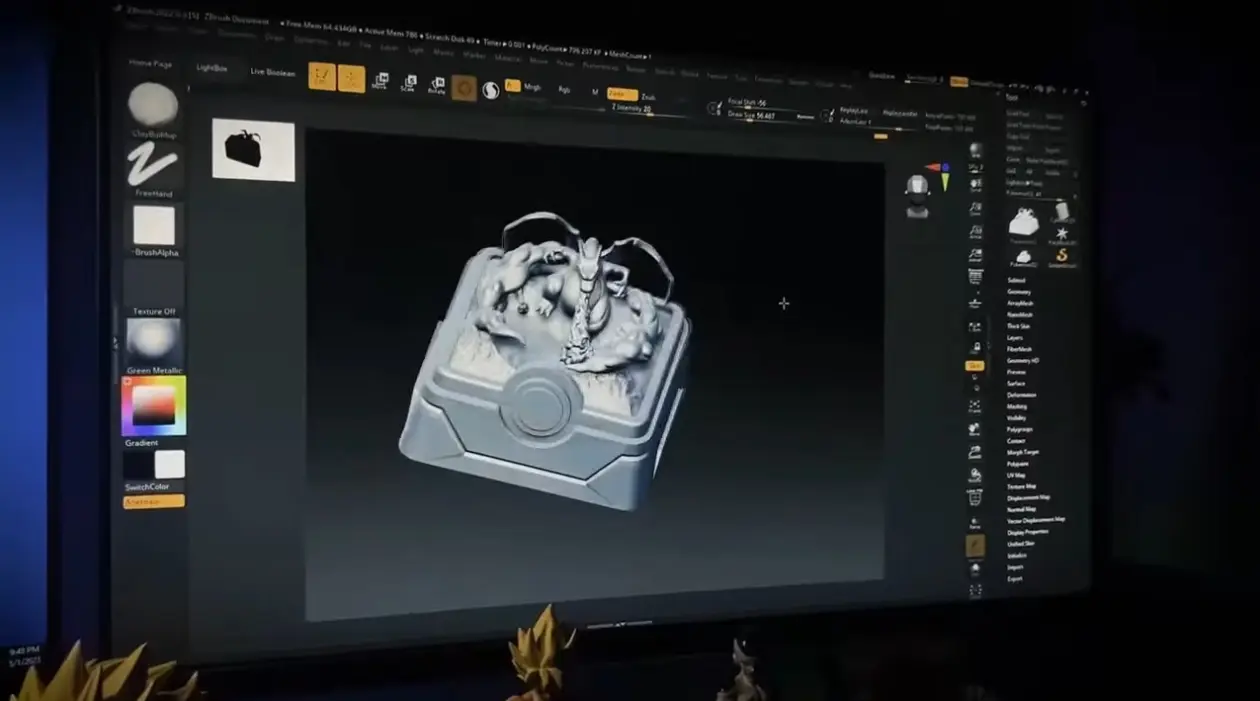
Step 1: Create a 3D Model that Fits the Keycap Profile
3D Model Design
We use digital sculpting software to design the character and ensure it fits inside a keyboard switch.
We begin by sculpting the character using 3D software such as ZBrush or Blender. In this project, we designed a fierce Charizard, carefully balancing its pose, proportions, and details.
Because this sculpture will eventually sit on a keycap, every millimeter matters. It has to look powerful — but it must still feel comfortable when pressed.
Craftsman’s note: Details are decided here. Wing textures, facial expression, and posture must be perfected at this stage. What isn’t sculpted now cannot be fixed la
Step 2: Print the Model Using an SLA Resin Printer
Print the Model
We print the digital model using a high-resolution liquid resin printer to capture the fine details.
Once the modeling is done, we print it using an SLA/DLP resin printer. Standard filament (FDM) printers just don’t have the precision to reproduce the tiny details we sculpted in the software.
Post-Processing: After printing, don’t forget to wash it with alcohol and cure it a second time in a UV chamber to ensure the model reaches maximum hardness.
Step 3: Paint the Miniature with Thin Layers of Acrylic
Paint the Miniature
We paint the white model by hand using micro-brushes and acrylic paint thinned with water.
Priming: First, we spray a thin layer of grey primer (surfacer). This gives the slick resin a “tooth” for the paint to stick to.
The Paint Technique (Crucial Detail): We use acrylic model paints. Never use paint straight out of the bottle. It is too thick and will hide the details. You must thin the paint with water until it has the consistency of skim milk.
Application: Using an ultra-fine detail brush (size 000), we apply 3–4 very thin layers rather than one thick coat. We start with the orange skin, then the teal wings, and finally, the eyes.
The Result: When you paint thin layers, the surface remains smooth. When you dot the eyes, the figure truly comes alive.
Step 4: Mix and Pour Epoxy Resin into the Mold
Mix and Pour Epoxy Resin
We measure clear epoxy resin by weight and pour it slowly into a silicone mold to seal the painted model.
Placement: We glue the painted dragon onto the keycap base (in this case, a Pokéball base).
The Resin (Glue) Science: We use high-grade, non-yellowing Epoxy Resin.
The Ratio: You must measure Part A and Part B by weight using a digital scale. If you are off by even 0.1g, the resin will not cure and will remain sticky forever.
The Mix: Stir slowly. If you whip it like eggs, you will add millions of bubbles.
Pouring: We slowly pour the mixed resin down the side of the silicone mold until it covers the model. Pouring slowly prevents trapping big air pockets under the dragon’s arms or wings.
Step 5: Cure the Resin in a Pressure Pot to Remove Bubbles
Remove Bubbles
We place the wet mold into a pressure pot at 50 PSI for 24 hours to force air bubbles out of the resin.
The Problem: Even if you pour carefully, there are microscopic bubbles in the resin that make it look cloudy or fizzy.
The Solution: Immediately after pouring, the mold must go into a Pressure Pot.
How it Works: We pressurize the tank to 50 PSI and leave it for 24 hours. The pressure compresses the air bubbles until they are so small they become invisible. This is the only way to get a bubble-free, glass-like finish.
Step 6: Sand and Polish the Keycap for Transparency
Sand and Polish
Fresh out of the mold, the keycap surface is matte and slightly rough. It needs one last touch.
Wet Sanding: We use sandpaper dipped in water. Never sand dry. Dry sanding creates heat that melts the resin and turns it white. Water keeps it cool and smooth.
The Grits: We work our way up: 800 -> 1000 -> 1500 -> 2000 grit.
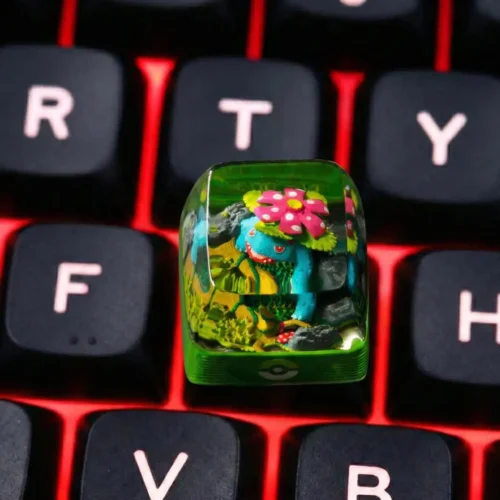
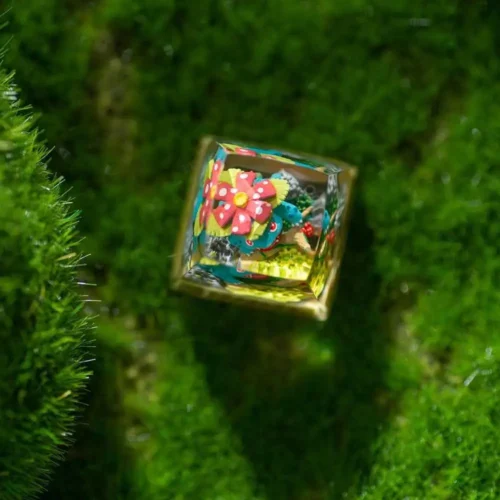
Polishing: Finally, we use a polishing compound with a wool buffing wheel. As the wheel spins, the fog vanishes, and the Charizard inside becomes clearly visible, suspended in the crystal.
Final Thoughts
And there you have it—an Artisan Keycap is born!
We took a pile of resin and paint and turned it into a piece of art. Although the steps sound simple, every stage—from mixing the resin ratio correctly to thinning the paint—requires intense focus.
At Keycapor, we love this process of “slow work yielding fine detail.” I hope this tutorial clears up the mystery. If you want to jump in and try it yourself, feel free to reach out!
At minimum, you need a resin mixing setup, silicone molds, fine brushes, sanding paper, and proper safety gear. Advanced tools like pressure pots improve results but are not required for learning.
Cloudiness is usually caused by moisture, incorrect resin ratios, or trapped air. Always measure accurately and work in a dry environment for better clarity.
Rushing the process is the biggest issue. Mixing resin too fast, pouring too quickly, or demolding early often leads to bubbles and surface defects. Slow, controlled steps matter more than speed.
We use cookies to improve your experience on our site. By using our site, you consent to cookies.
Cookie Preferences
Manage your cookie preferences below:
Essential cookies enable basic functions and are necessary for the proper function of the website.
Name
Description
Duration
Cookie Preferences
This cookie is used to store the user's cookie consent preferences.
30 days
Google reCAPTCHA helps protect websites from spam and abuse by verifying user interactions through challenges.
Name
Description
Duration
_GRECAPTCHA
Google reCAPTCHA sets a necessary cookie (_GRECAPTCHA) when executed for the purpose of providing its risk analysis.
179 days
Google Tag Manager simplifies the management of marketing tags on your website without code changes.
Name
Description
Duration
cookiePreferences
Registers cookie preferences of a user
2 years
td
Registers statistical data on users' behaviour on the website. Used for internal analytics by the website operator.
session
Statistics cookies collect information anonymously. This information helps us understand how visitors use our website.
SourceBuster is used by WooCommerce for order attribution based on user source.
Name
Description
Duration
sbjs_session
The number of page views in this session and the current page path
30 minutes
sbjs_udata
Information about the visitor’s user agent, such as IP, the browser, and the device type
session
sbjs_first
Traffic origin information for the visitor’s first visit to your store (only applicable if the visitor returns before the session expires)
session
sbjs_current
Traffic origin information for the visitor’s current visit to your store
session
sbjs_first_add
Timestamp, referring URL, and entry page for your visitor’s first visit to your store (only applicable if the visitor returns before the session expires)
session
sbjs_current_add
Timestamp, referring URL, and entry page for your visitor’s current visit to your store
session
sbjs_migrations
Technical data to help with migrations between different versions of the tracking feature
session
Marketing cookies are used to follow visitors to websites. The intention is to show ads that are relevant and engaging to the individual user.
Facebook Pixel is a web analytics service that tracks and reports website traffic.


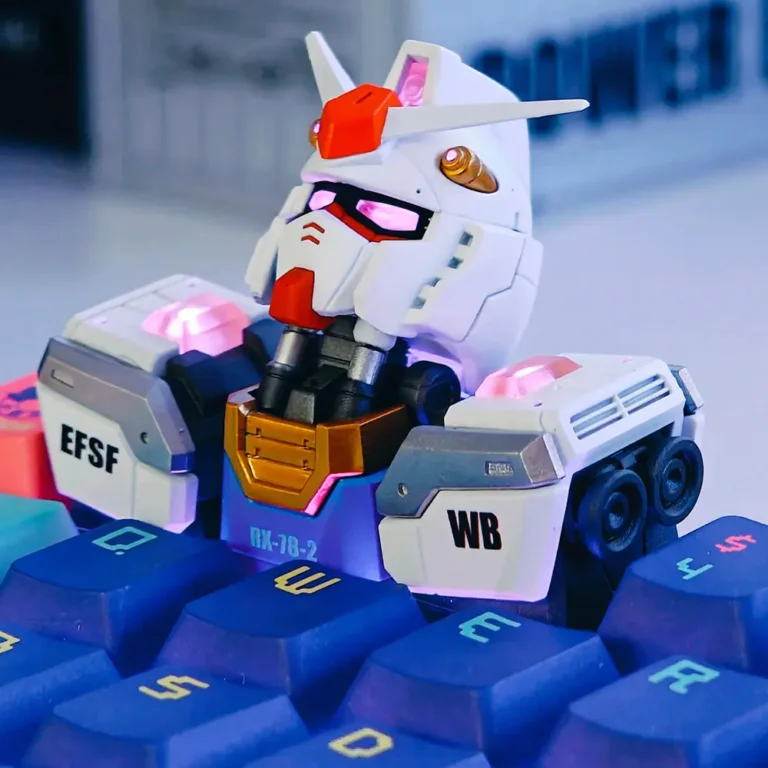
 Limited Edition


 Limited Edition